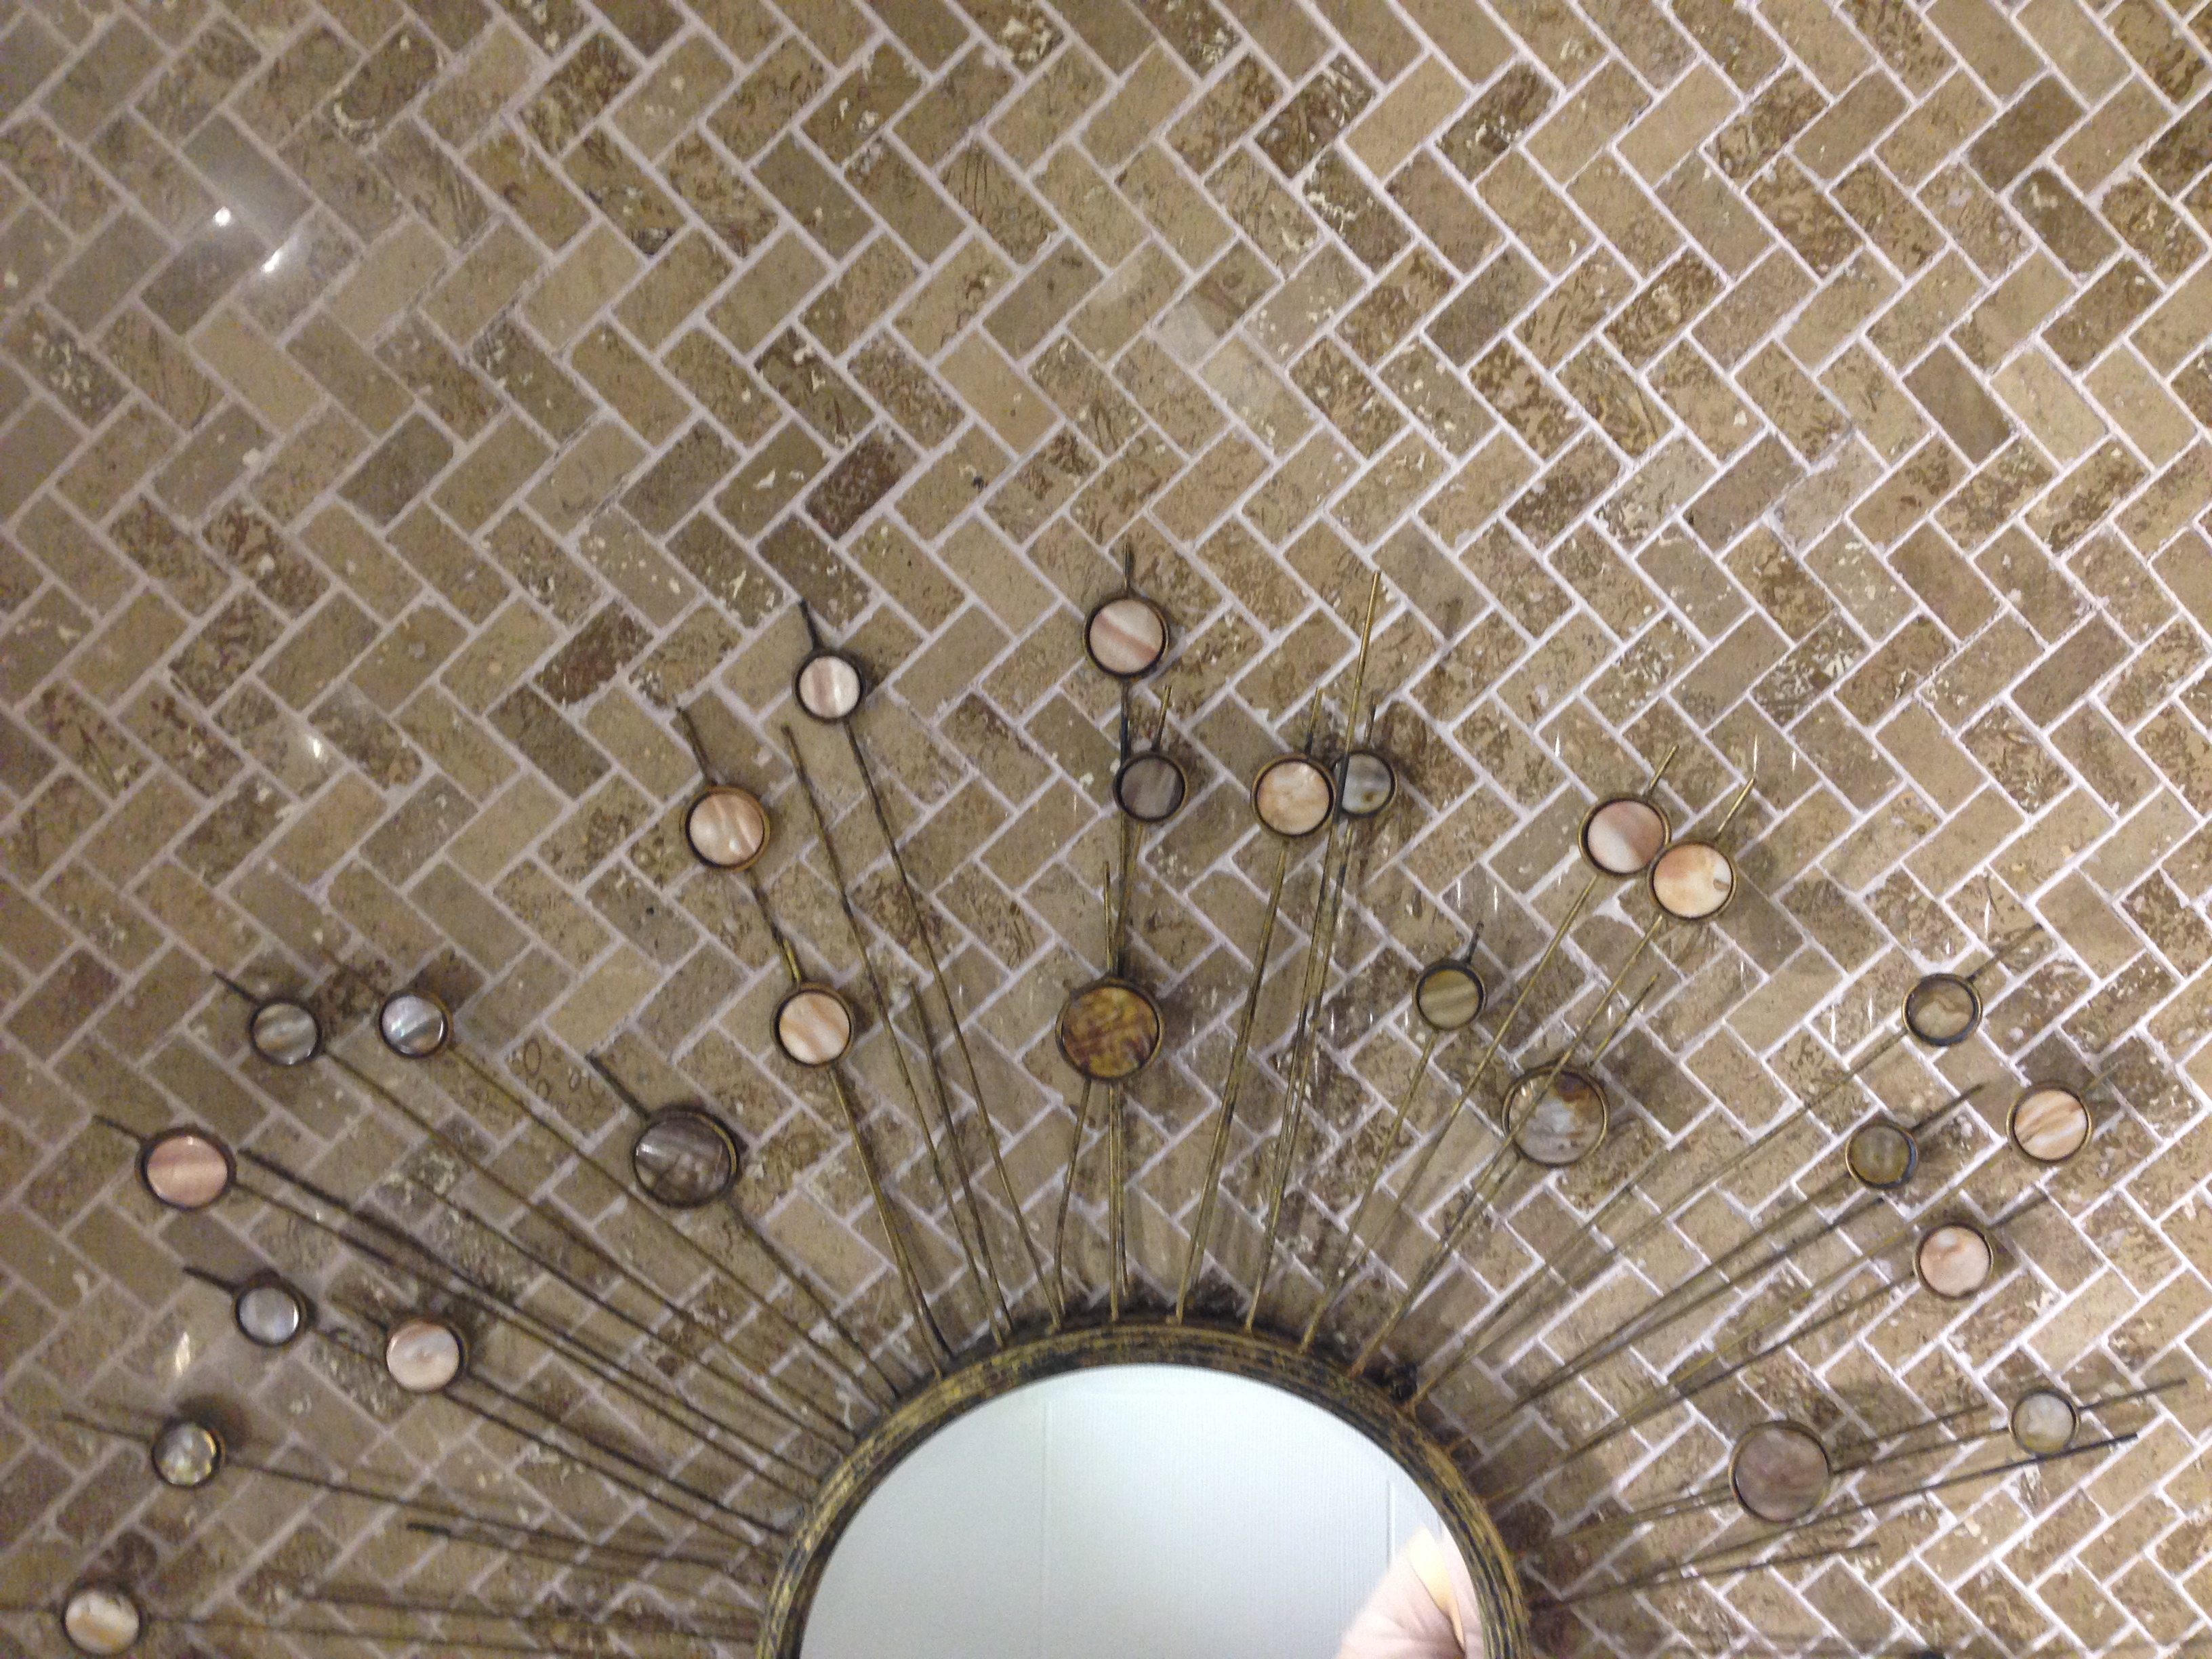
Back Splash Tile Installation
Back Splash Tile Installation
See our previous blog for a list of materials and tips
1. Make sure the wall surface has a sound structure (Good dry wall etc..)
2.The wall should be clean and flat (It’s been suggested to sandpaper or paint over the walls primer or sealer)
3.Measure to see how much tile you’ll need and get some extra from the same lot number.
4. Tiles purchased on sheets will allow for faster installation as you’ll be laying several at a time.
5. Cut tiles with a wet saw according to your needed measurements.
6. Lay tiles on the counter to get an idea of the layout pattern you want. (Cut tiles to size if needed).
7. Turn off power and remove wall face plates.
8. Apply Mastic (adhesive) with a notched trowel. Add to the walls with the flat side of the trowel.
9. Start at the center and work your way up horizontally. (Only apply to a 3×3 foot area at a time to prevent drying).
10. Double back over the application of adhesive with the notched side of the trowel to remove excess. (Use a small trowel for small areas and tight corners).
Back Splash Tile Installation
11. Apply adhesive to the back of the tiles then lay them on the wall, starting at the base of the counter tops and working your way up.
This method will give you a straight edge guide and allows needed cuts/angles to be made under cabinets and exhaust fans.
12.Gently tap tiles into place with a mallet. Continue to lay tiles in a row and remove any surface excess (Every few minutes check for proper alignment).
13.Remove spacers, wipe surface clean, and let the tiles set over night before grouting.
14.Mix grout according to manufactures instructions.
15.Apply grout in a diagonal pattern using a rubber float holding it at a 45-degree angle.
16.Fill the seams with grout and wipe off excess with a damp sponge once grout is firm.
17.After grout dries a haze will form which must be removed with a clean sponge.
18.Apply cork (not grout) at the boarder of the counter tops and wall edges to seal and prevent cracking.
19.Replace switches and wall plates you may need longer screws.
20. Back Splash Tile Installation is now complete as always get professional advice before starting your installation project