Home Modern Design Bathroom
Home Modern Design Bathroom
Modern Home Design Bathroom
Guide Buying Vanities
Guide Buying Vanities very important-Measure your bathroom first.
Width: Side to side top of the vanity.
Height: Is optional and can include pre-installed cabinets and mirrors that are already installed.
Depth: Include the extension of vanity doors, how the bathroom door opens and closes, walkway, and shower doors.
Single or double sinks?
Sinks can be decided based on your space and needs.
Single Vanities are the most common size have one sink which is good for small bathrooms.
Double Vanities are usually 48″ wide and is suggested for double sink accommodation.
Mounting options?
- Standard which looks like a chest also known as free standing is a good option for storage.
- Wall-Mounted vanities hang wall and are great for small bathroom.
- Corner-Mounted is your space saver option.
Sink options?
There are various vanity styles with different space and size capacity, to match your taste and bathroom style.
- Under mounts are for sinks installed under the counter with no exposed edges.
- Self-Rimming drop-into the opening of the counter.
- Vessel is shaped like a bowl and sits on top of the counter.
Guide Buying Vanities- Customize it?
Choose a vanity that matches the style of your bathroom contemporary works with most styles if you’re not sure.
Minimalist is casual, sometimes rustic, casual, understated with natural elements and beauty.
Contemporary works with the greatest variety of styles
Modern can have exaggerated design, sharp angles with bold colors and shapes.
Traditional is classic and clean featuring woods, classic designs, carving and panel doors.
Finish options are usually ceramic, stone, glass, wood and acrylic.
Material hardwood, MDF wood, metal and glass to name a few.
Storage consider your needs for drawers, shelves, and cabinets and whether or not it needs to be kid friendly, guest friendly or master bath.
Hardware can be customized.
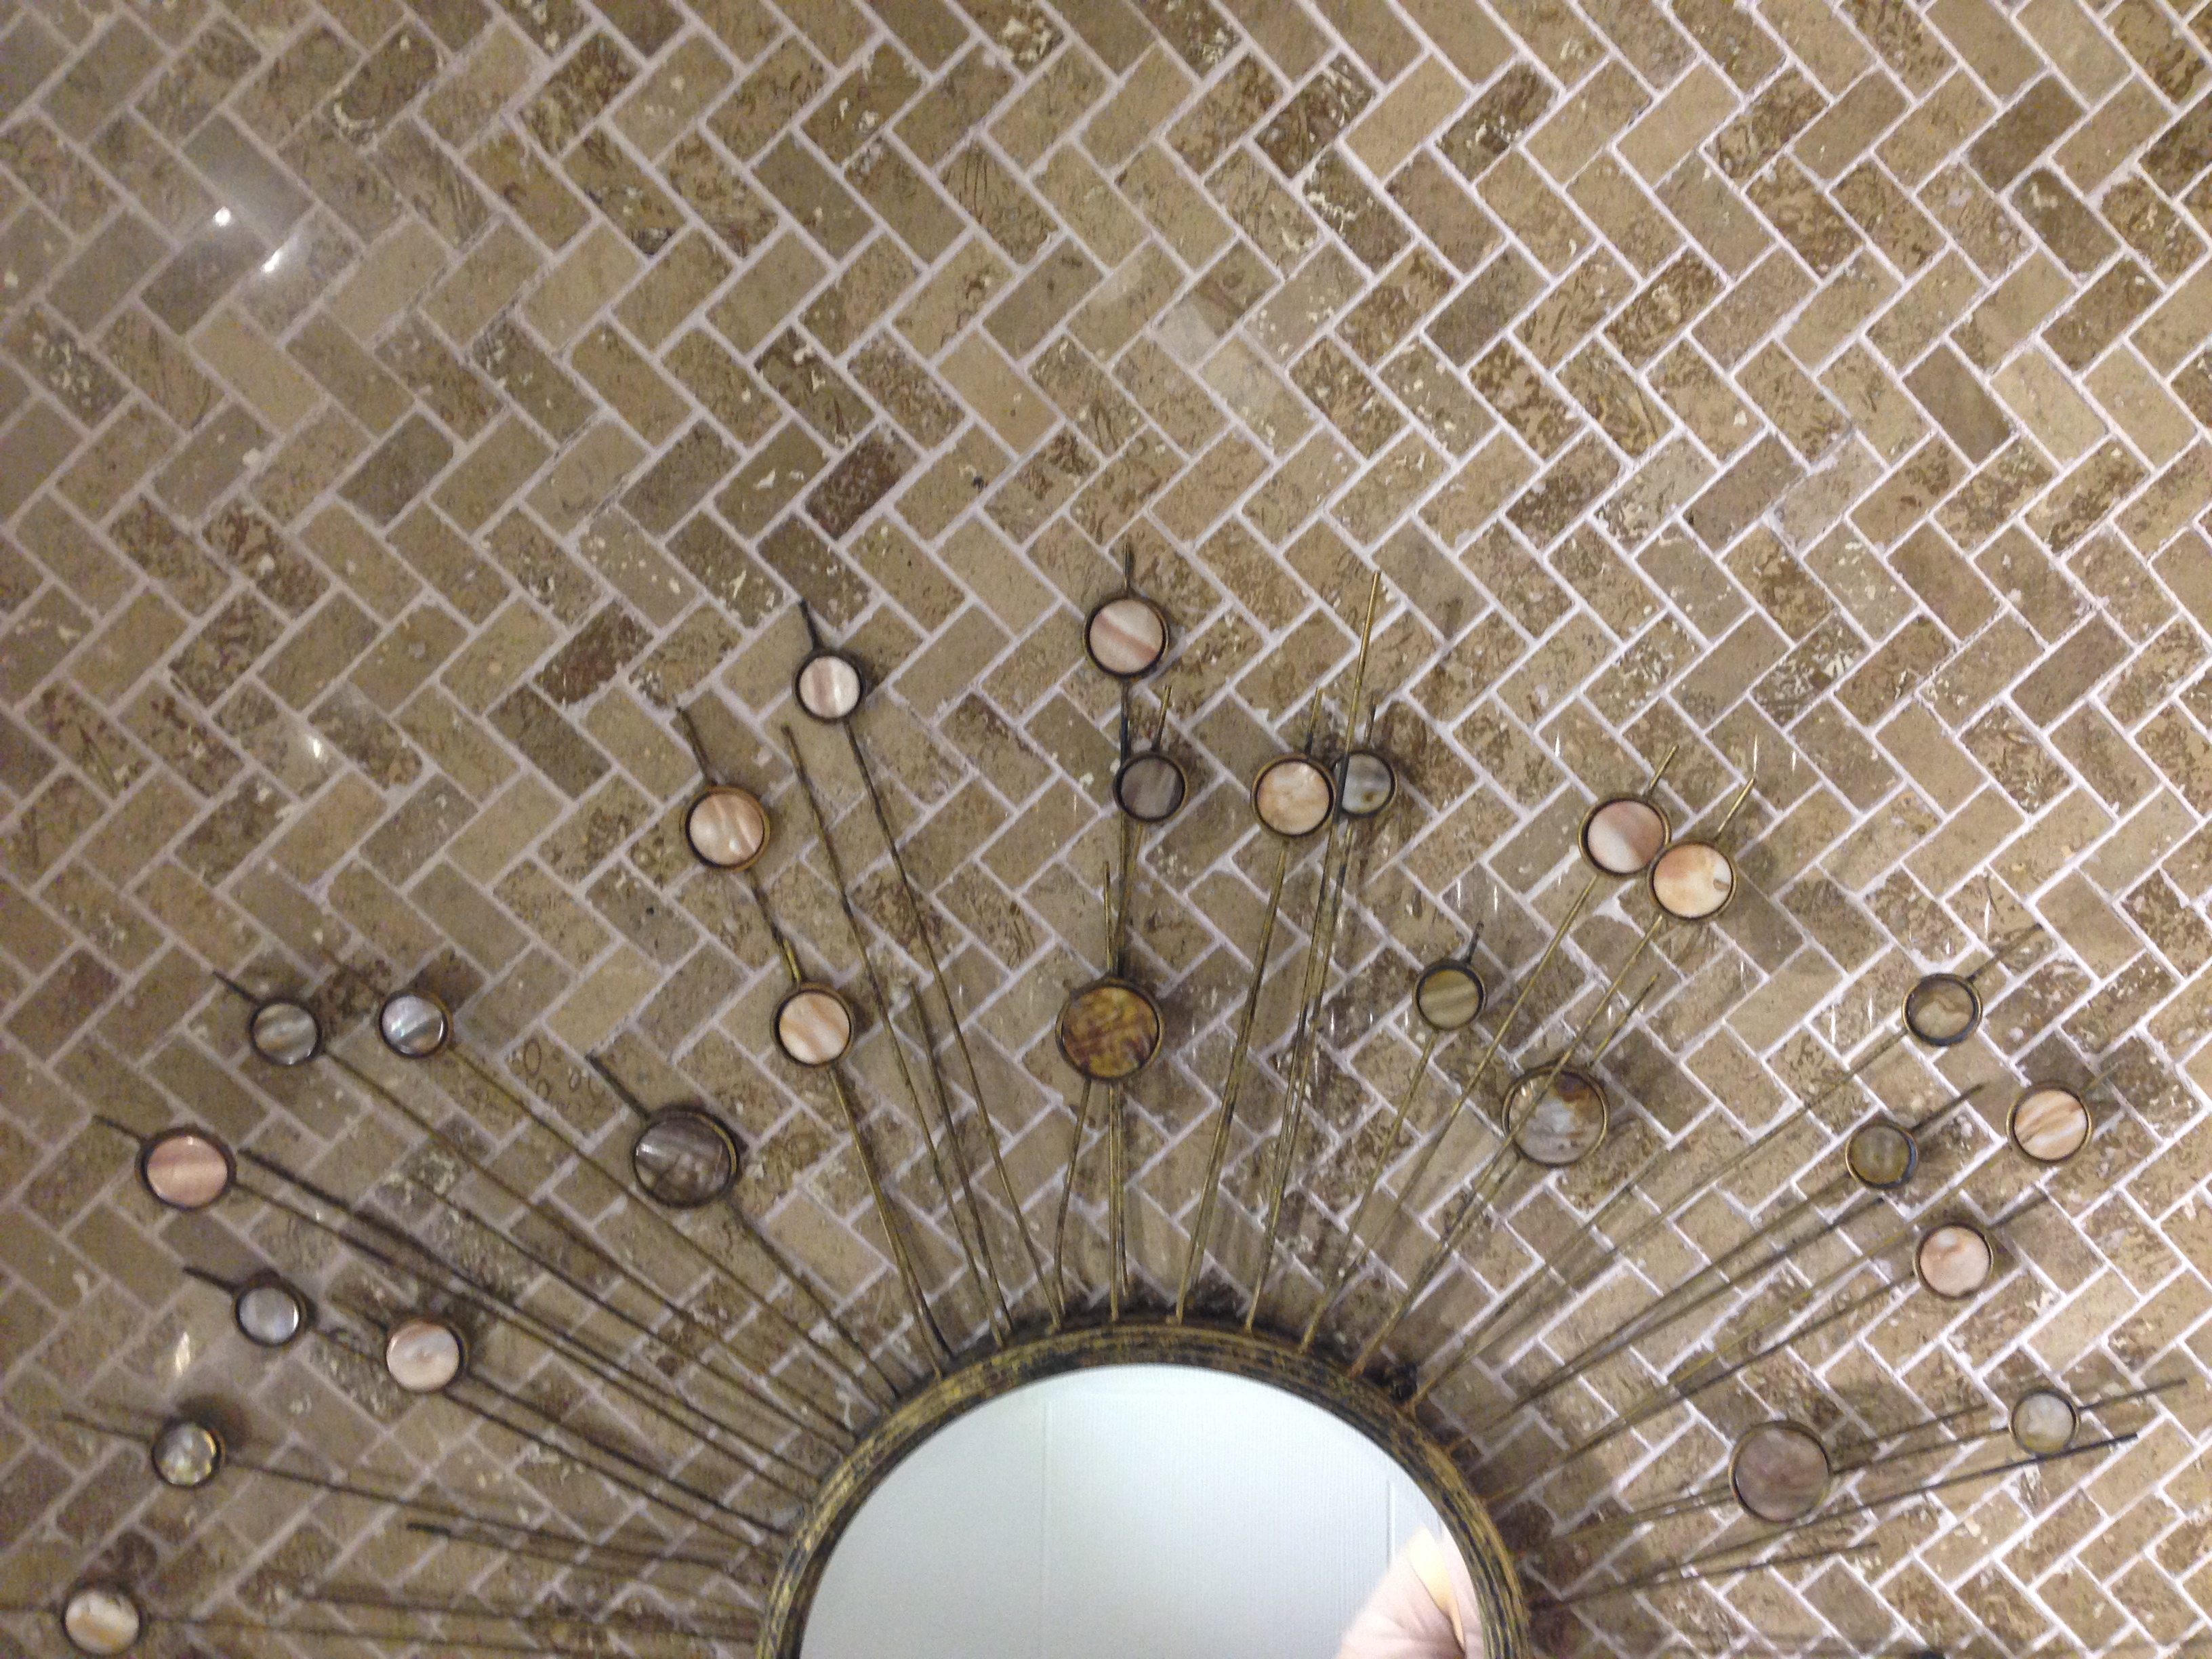
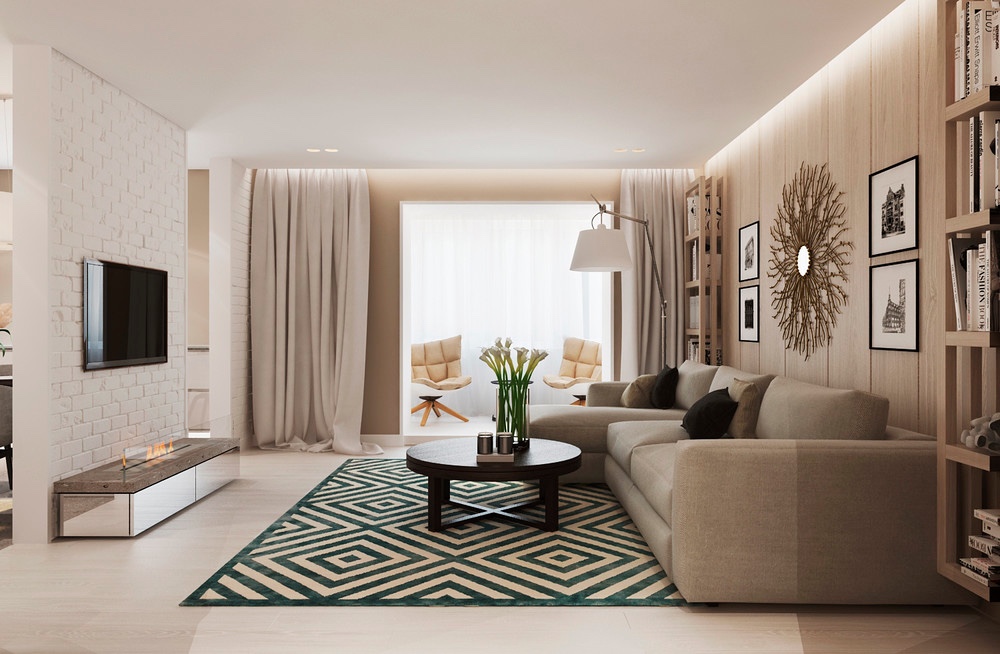
Wall decor can be added to optimize the space. The length of your wall decor should end where your vanity ends. If separate pieces are needed make sure they can be purchased separately and everything matches.
Guide Buying Vanities- Finally sinks, mirrors, and cabinets that are offered separately.
However, usually part of a collection, get the best finish by keeping them grouped together.
Faucets are not usually included with the vanity purchase however, the openings are factory cut.
Complete your vanity installation with tasteful bathroom accessories that compliments your design.
INSTAGRAM:http://instagram.com/robesondesignteam Sign up for our DESIGN SESSIONS here! http://bit.ly/2625Q8z Robeson Design Web Site: …