CLEANING TILE
CLEANING TILE
It is never advisable to use any harsh cleaning chemicals on natural stones as the stain can become worse or set on the tile.
Keep the natural stone tiles clean, by using a dry, clean dust mop-for your CLEANING TILE.
Do not use any abrasive chemicals or a vacuum cleaner as those may stain and/or scratch the surface of the tile.
StoneTech Professional Revitalizer Cleaner and Protector by DuPont is one of the suggested cleaners for your natural stone.
Pressure washing is sometimes needed for deep cleaning from tree and plant debris or in areas that collect a lot of water and get stained.
If you have a salt water pool, your pavers will need to be sealed with a water-repellent salt water sealer, and it’s better if applied before installing, to ensure that the entire paver is protected and not just the surface.
Here are a few products that can be used for Natural Stone cleaning:
KlenzAll heavy duty alkaline cleaner and degreaser
Oil and Stain Remover
Revitalizer cleaner & protector
BulletProof – sealer
Impregnator pro – sealer
TILE CLEANING
STAINS
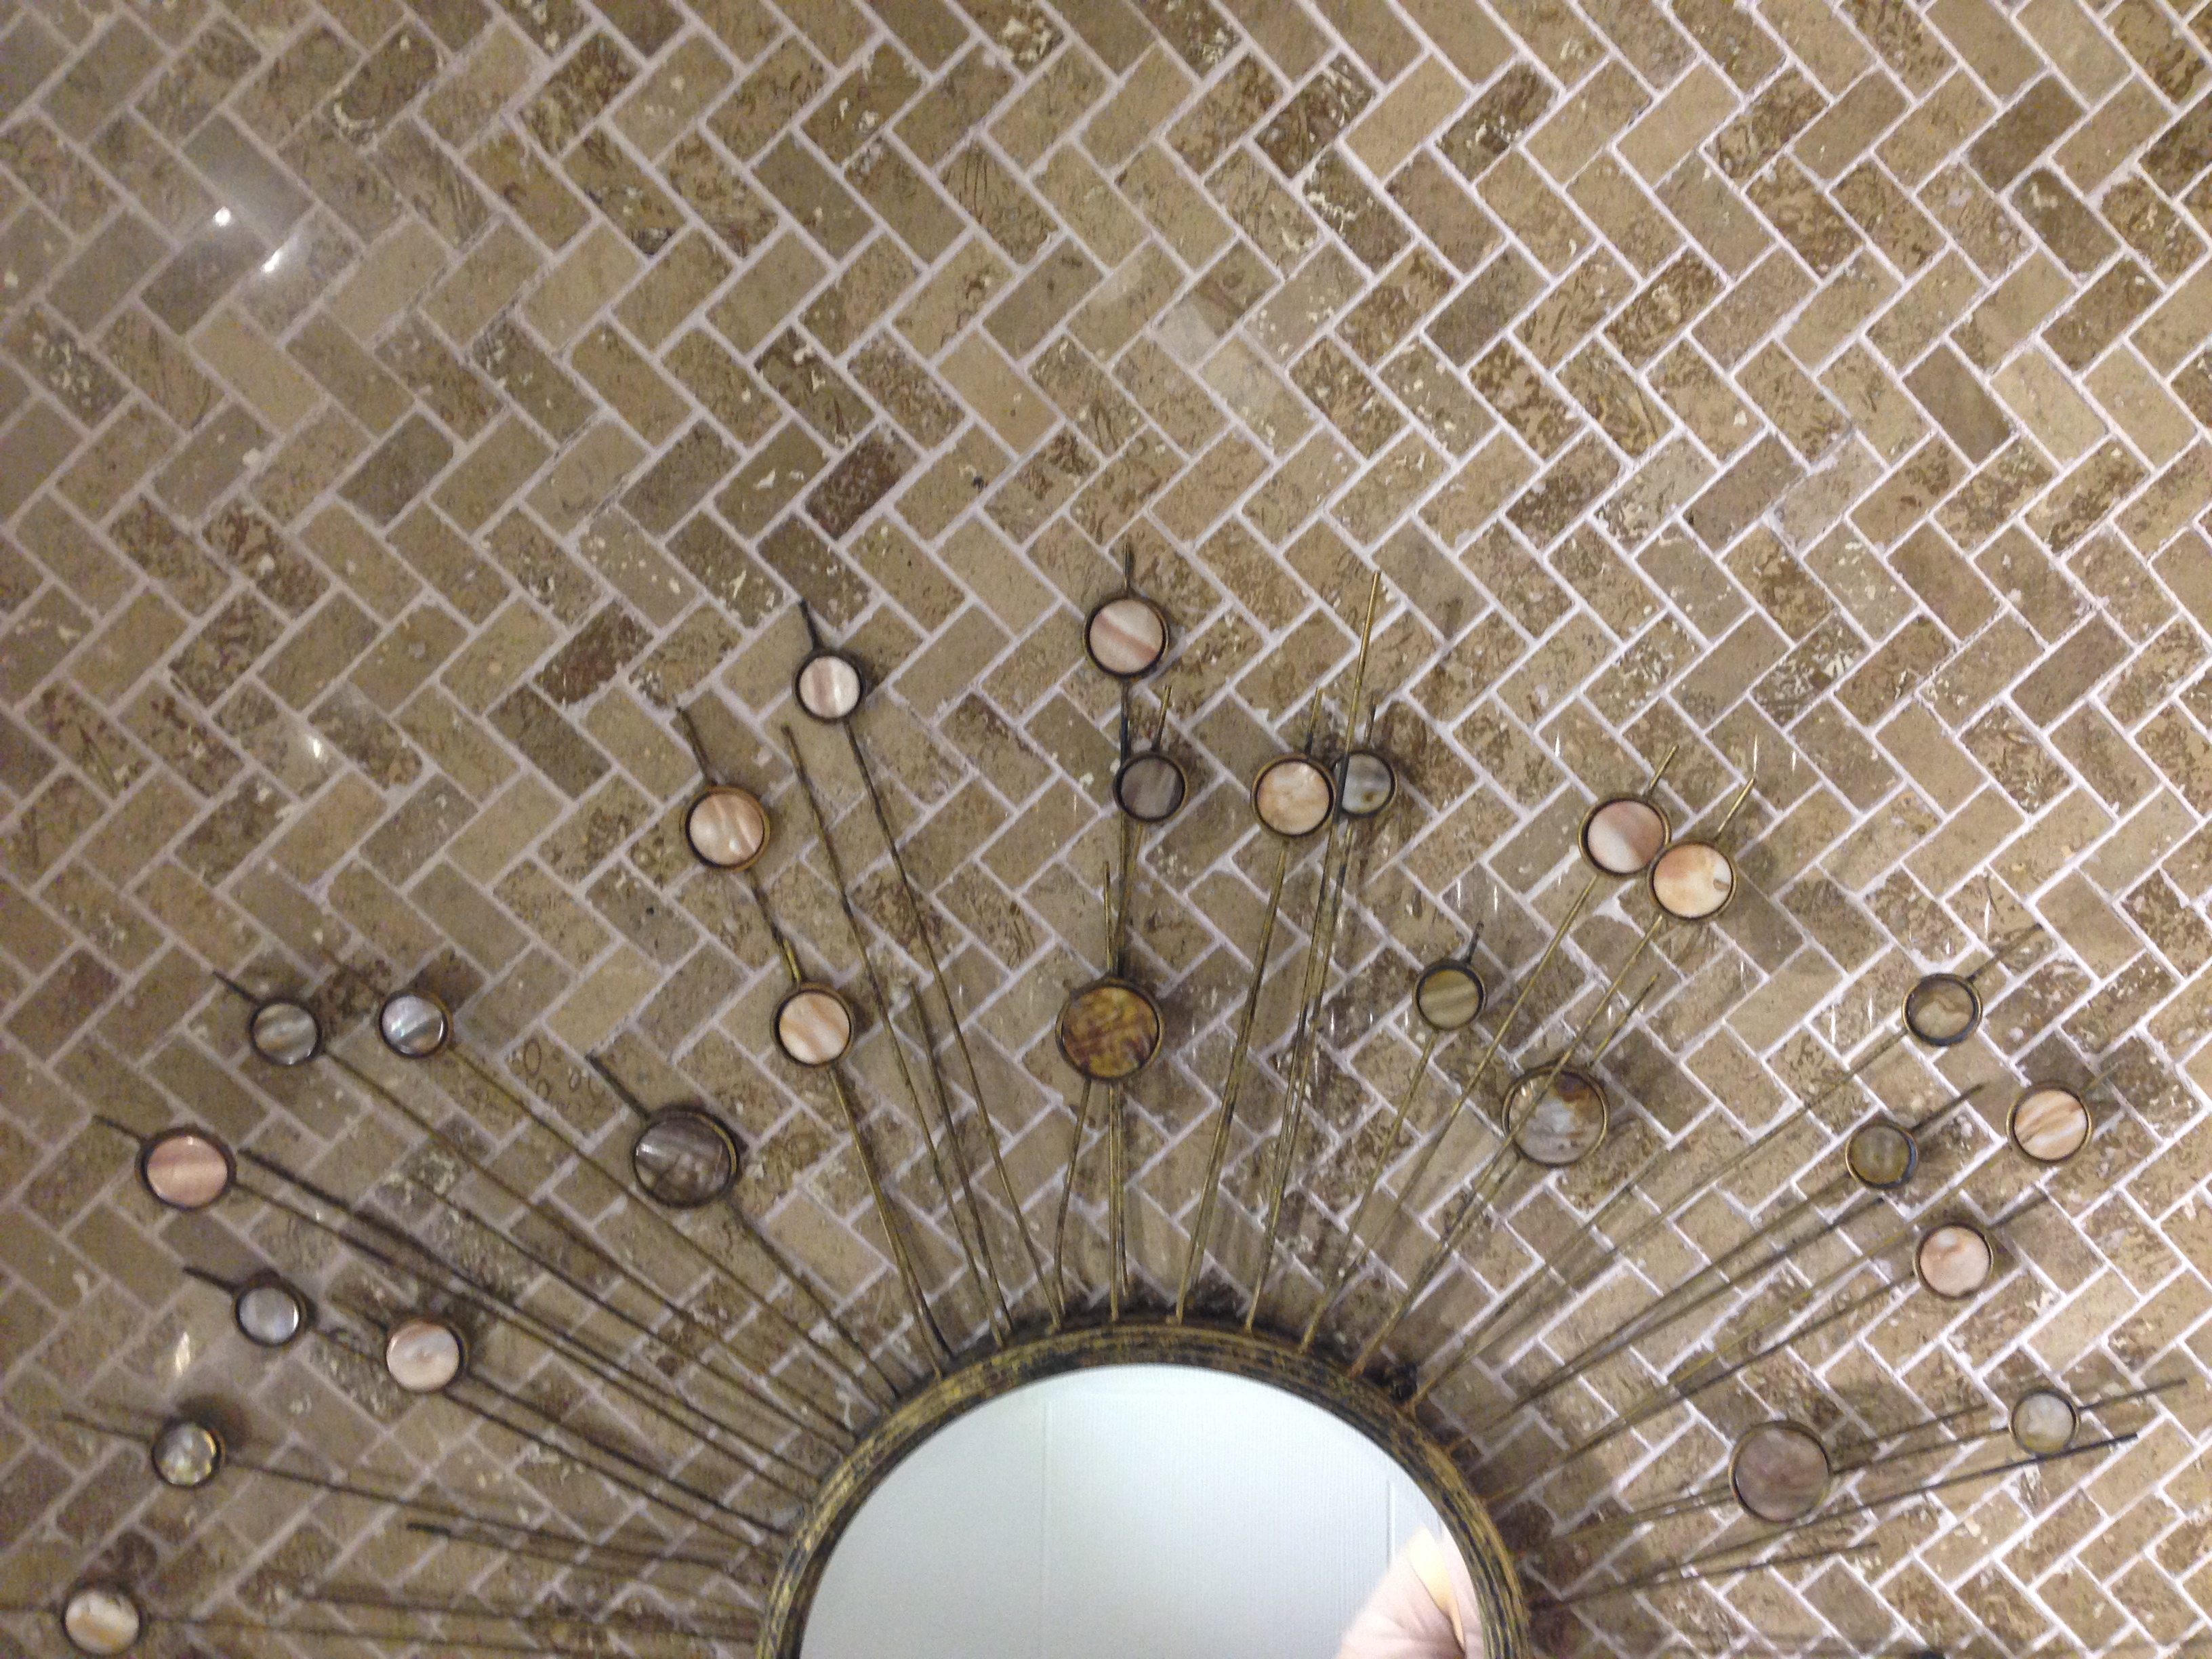
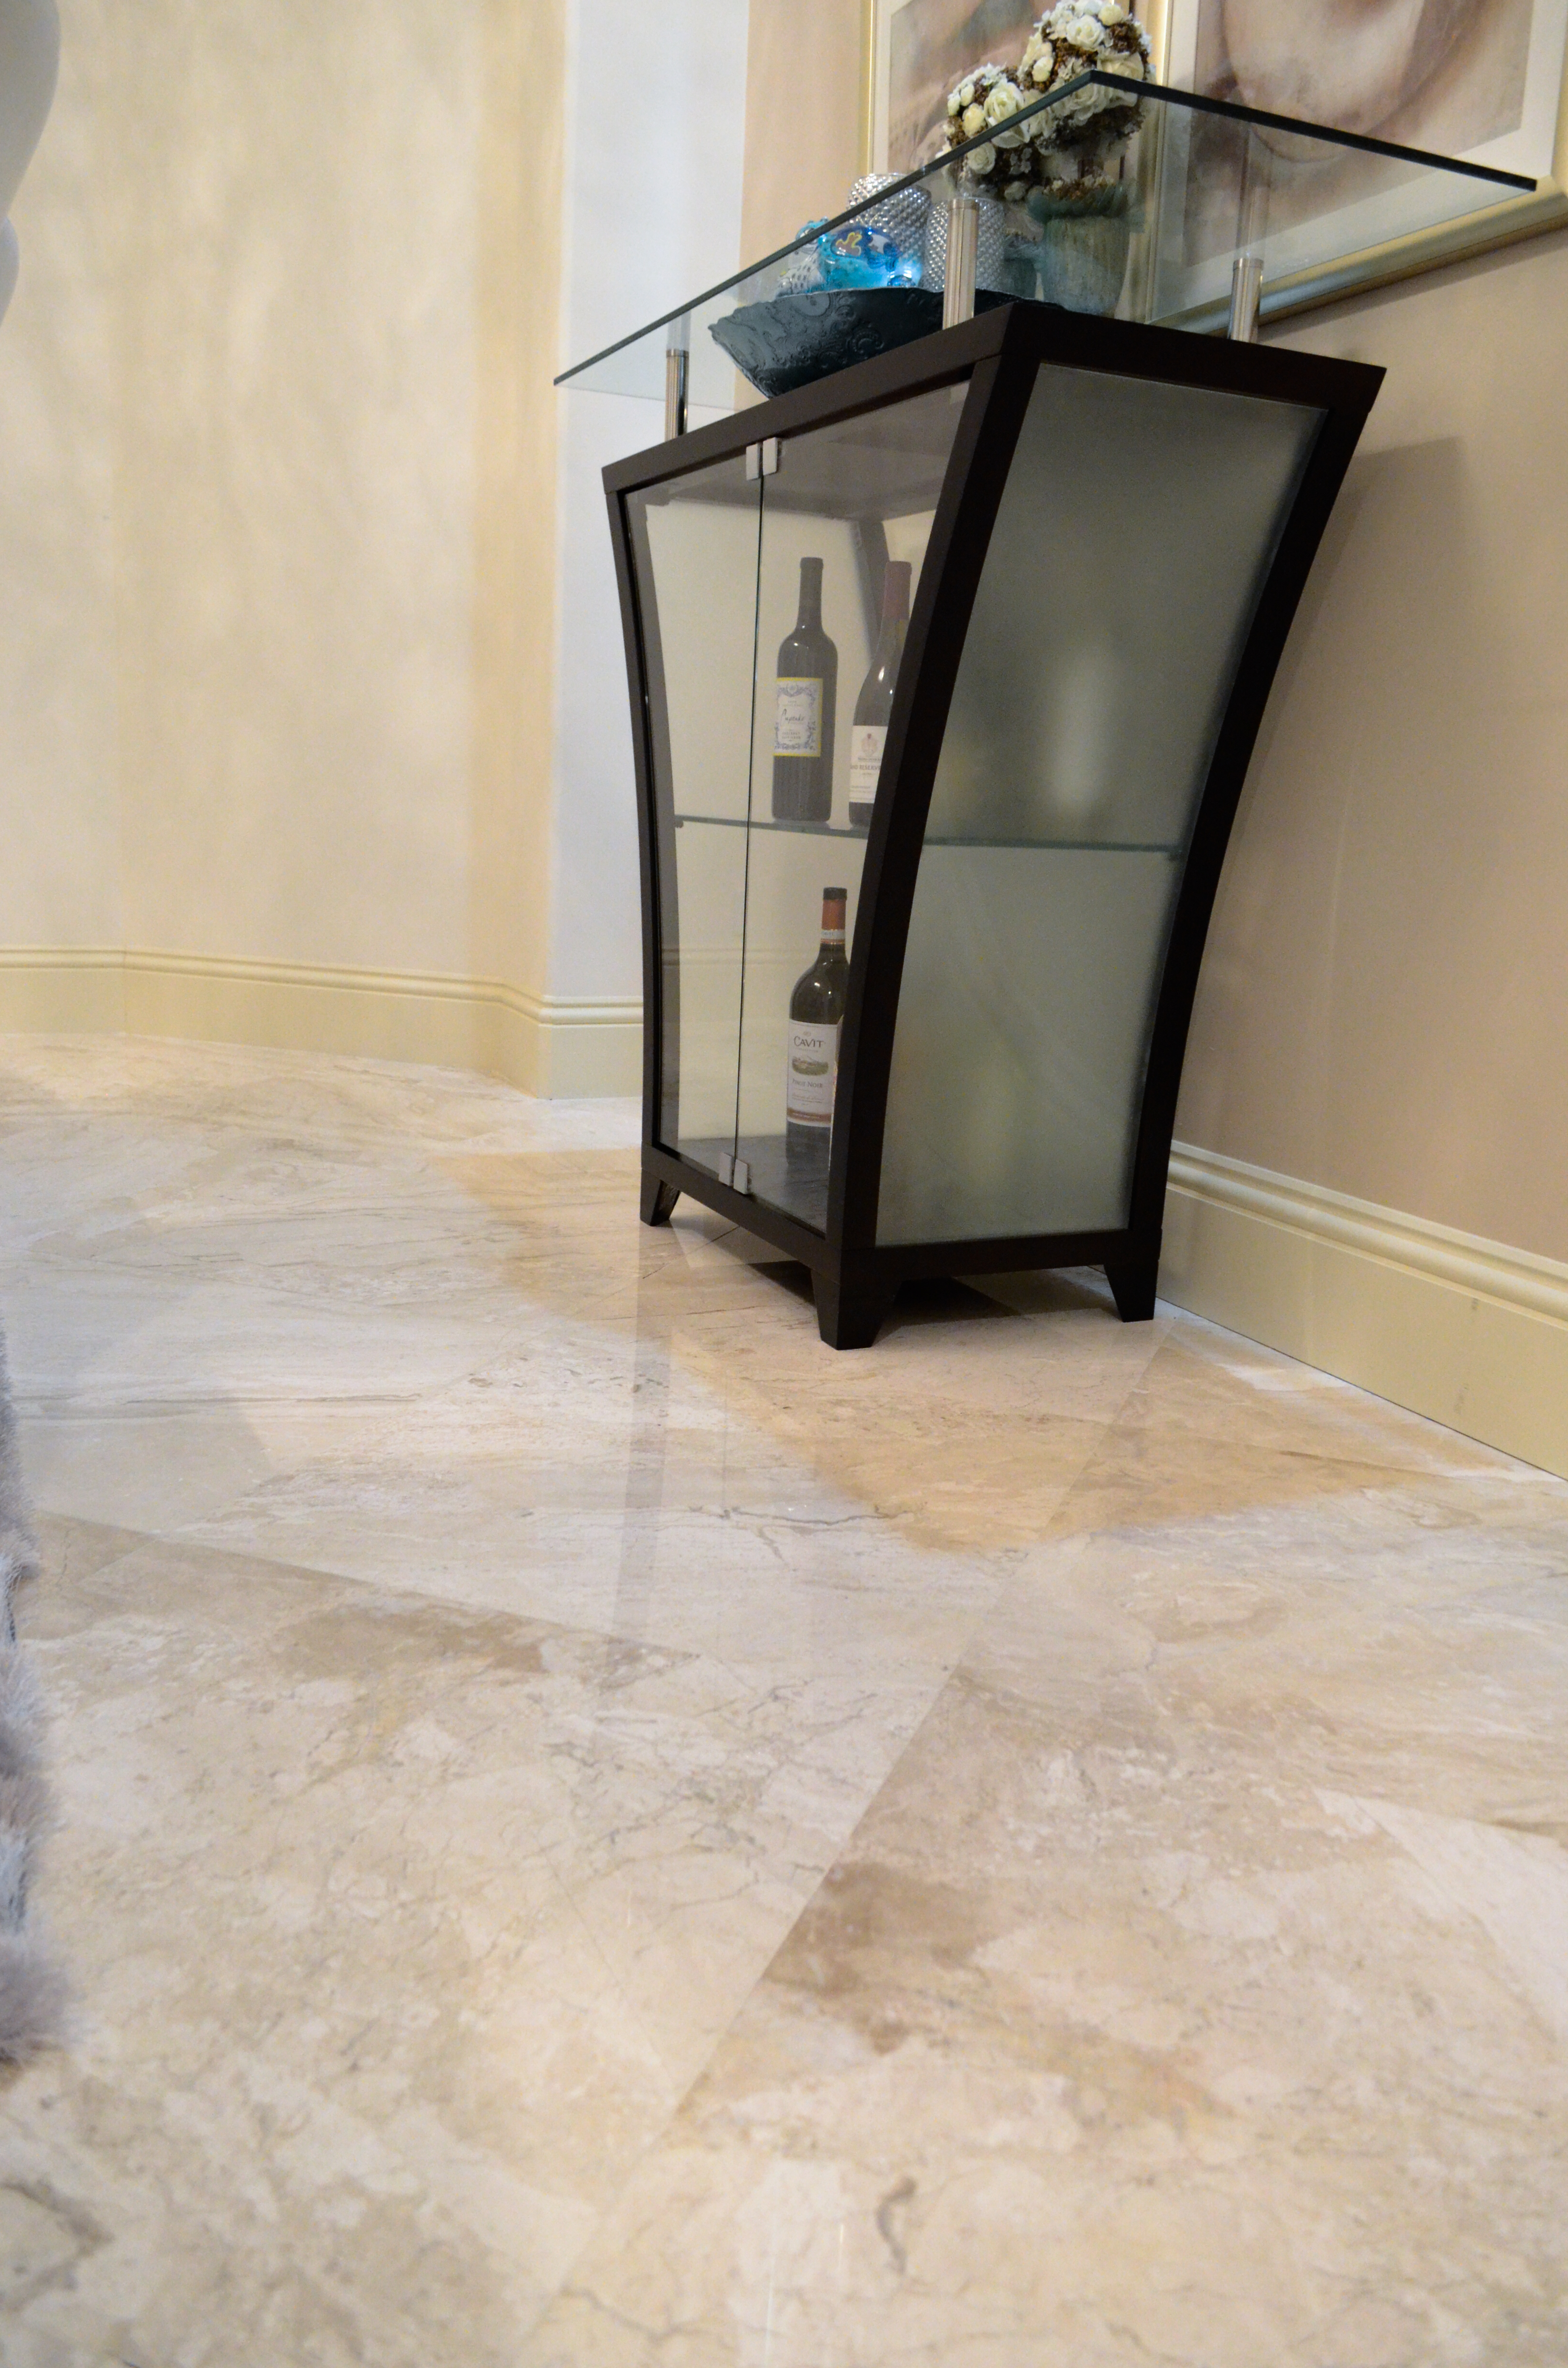
Natural stones such as travertine, marble, granite, etc. are porous materials which means they are absorbent making them prone to stains. At the same time, that characteristic also means that stains can be easily removed. When you notice a stain, clean it as soon as possible for better results.
All you need to do is to “lift” the stain by using a product called Stone Pro Deep Clean Gel which is sold at retail stores.
If that fails, it means that the stain is embedded in your tile. In that case, you can use Stone Pro Wet Poultice Stain Remover that is a ready-to-use paste which does not requires mixing or measuring.
You can purchase both items at this store: http://www.mystonecare.com/Stone-Problem-Solvers-Tile-Problem-Solvers-s/19.htm
TILE CLEANING
SEALING YOUR STONE
This is a personal choice. However, by using a sealer, your natural stone products are better protected against stains and dirt.
There are several kinds of sealers in the market. When selecting one, make sure it is the correct one for the kind of tile you purchased. We recommend the following brand: http://miraclesealants.com/
The best person to help you make that decision is your installer. Make sure to ask him for recommendations.
Advantage of paver sealant:
Protect outdoor stone against stains from tree and plant debris or in areas that collect a lot of water and get stained and mildew.
The sealer is deep penetrating and preserving of the stone’s natural surface texture while keeping stains and mildew out.
Sealer will also reduce damage that can be caused by spills from things that can stain like wine.
Disadvantages of sealing pavers:
Recommended 5 year re application of a professional sealer. It may even be yearly according to the brands manufacture instructions that you choose.
If you’re a DYI person you can actually get it done for a fraction of the cost.
Seal Pavers-needed are:
White clean cloth-absorbent suggested
Clean your Pavers
Apply the Sealer
Apply Finishing
Remove Excess and re apply