TRAVERTINE PAVERS INSTALLATION
TRAVERTINE PAVERS INSTALLATION
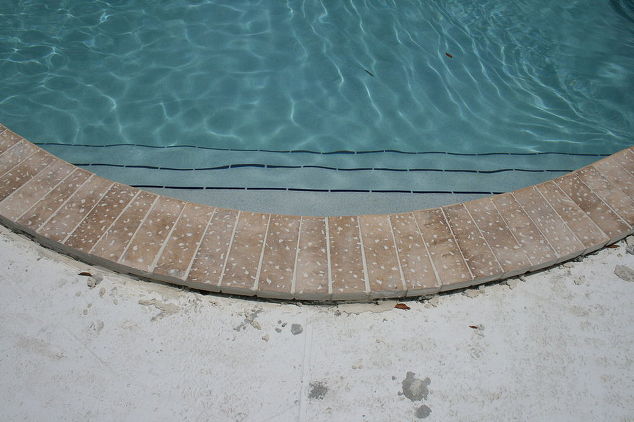
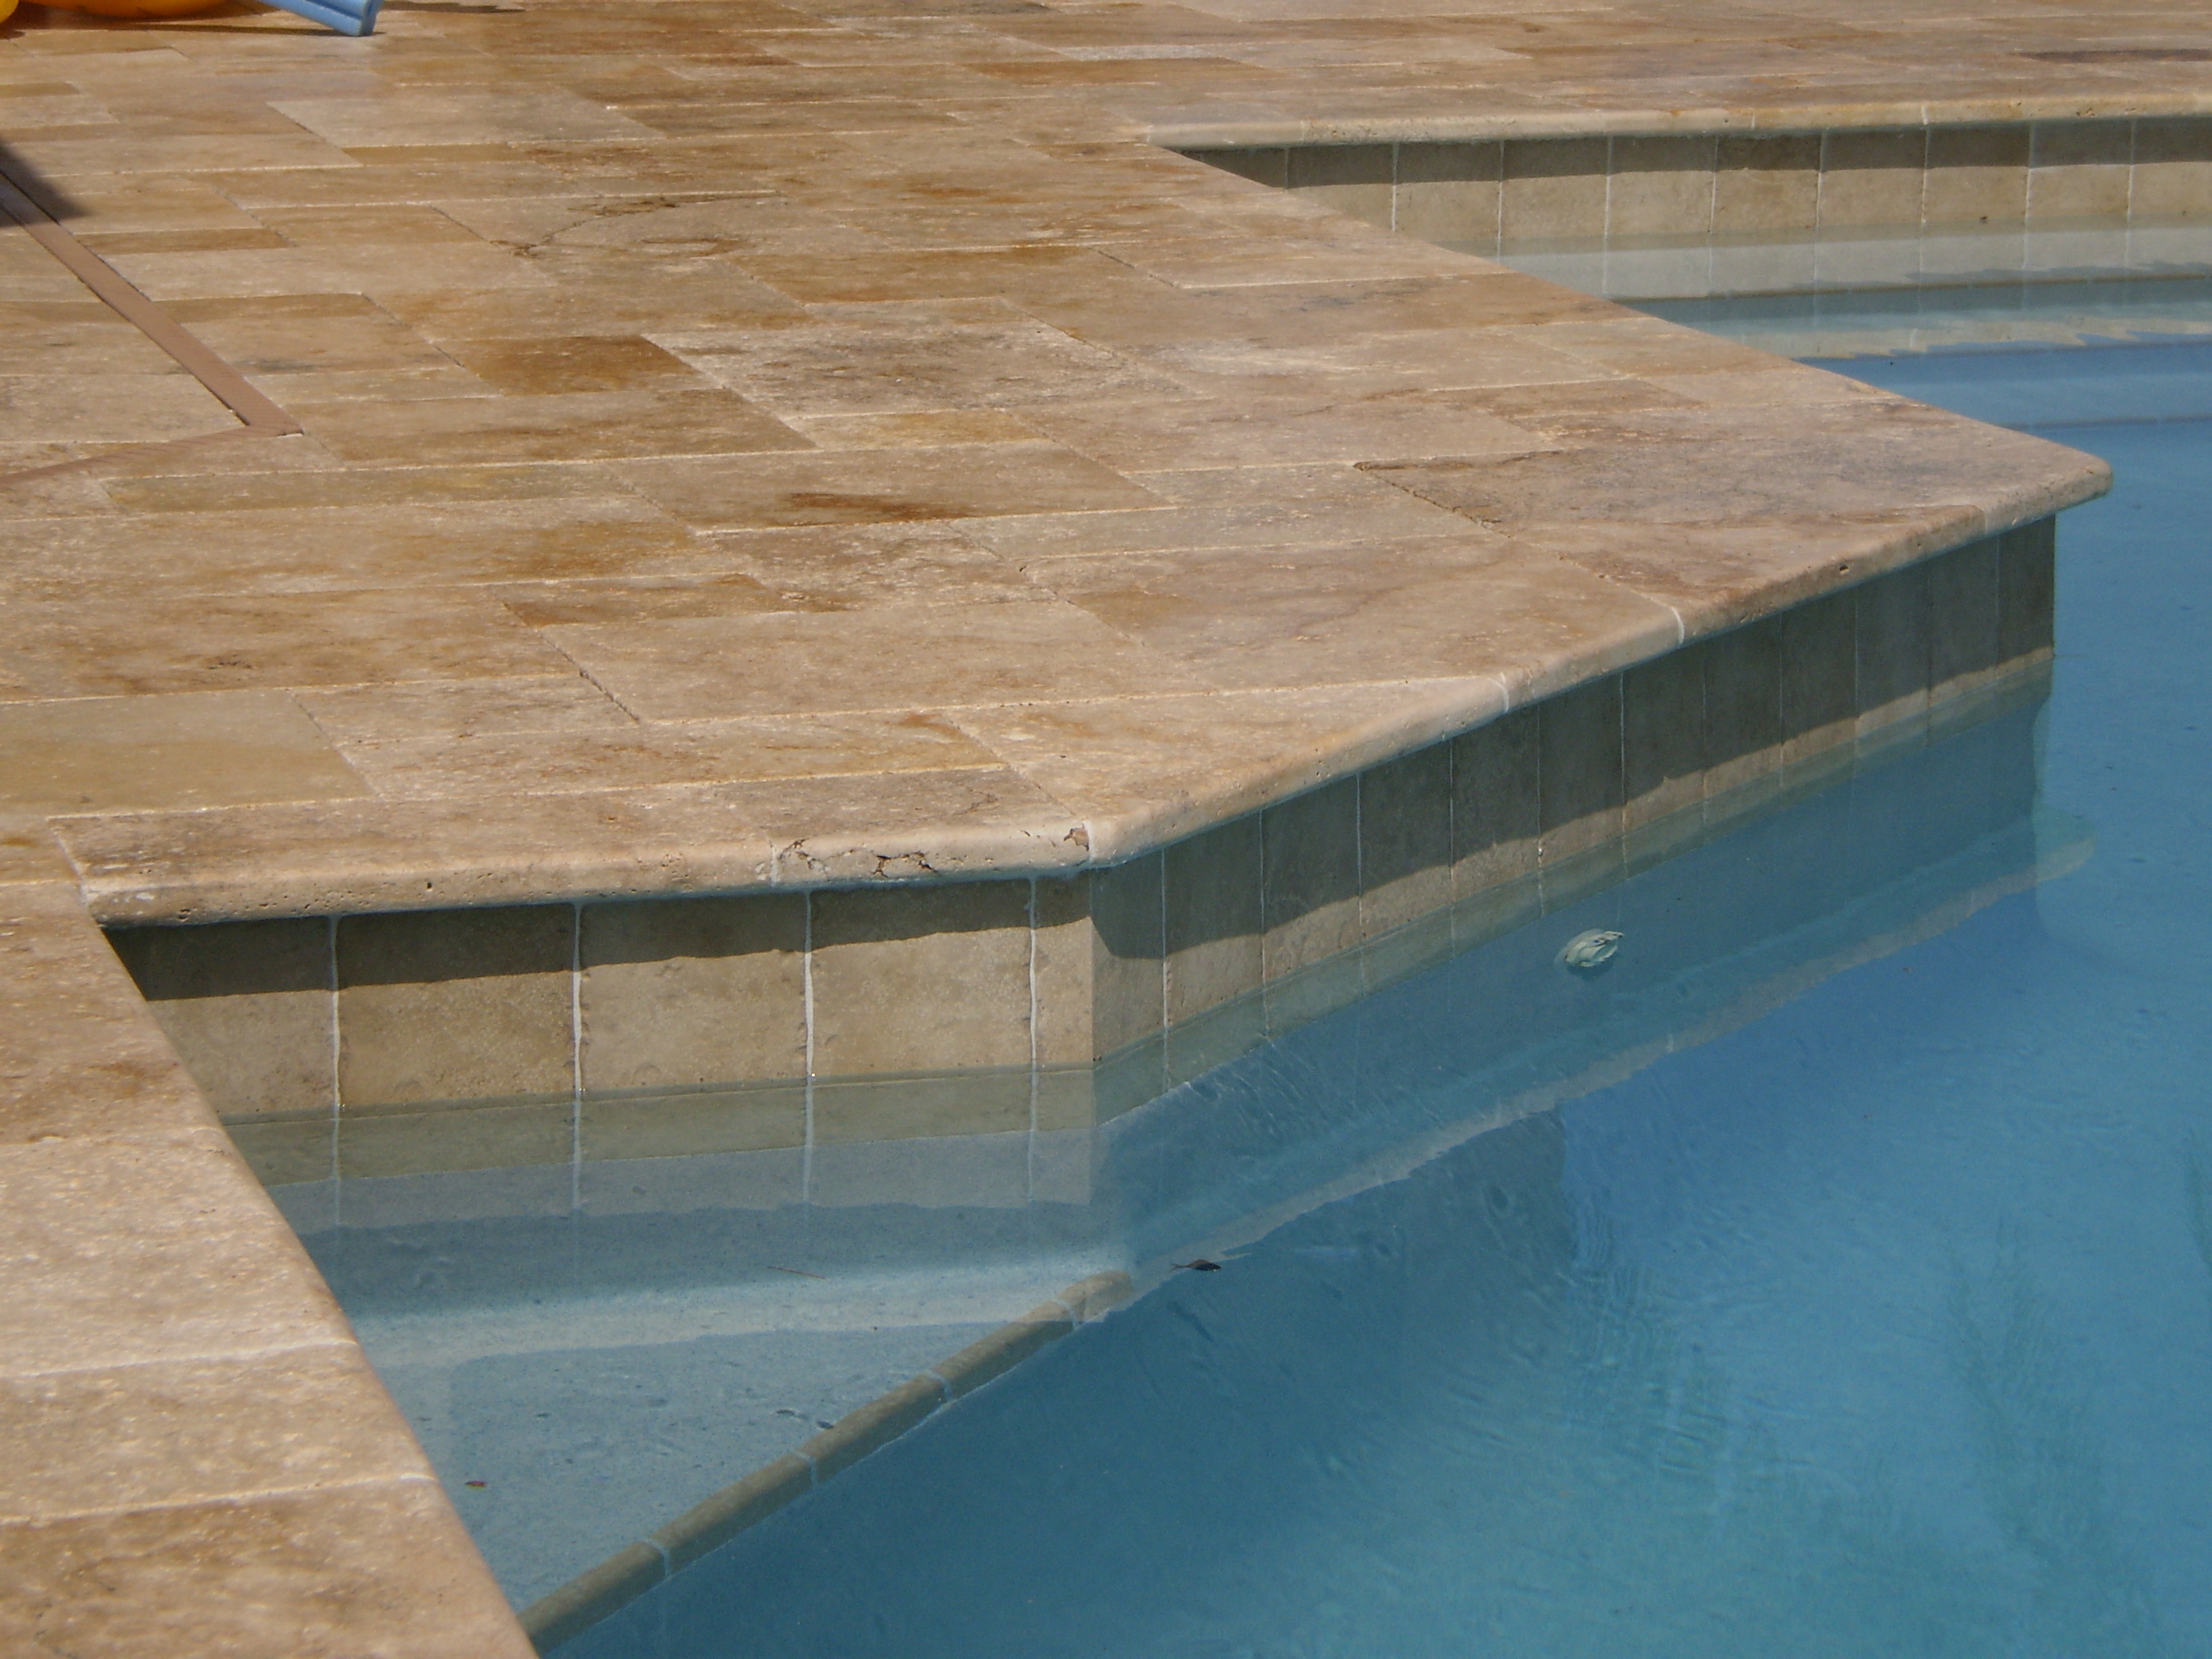
Stone Tile Us pavers are available in Marble and Travertine with finishes: tumbled, honed and filled. The finish on these stones are good for traction of vehicles and walking. The dense, hard material of travertine pavers makes them good for driveways, patios, pool and decks. They are resistant to moisture, cold, heat and erosion. There is no heat retention and its surface remains cool to the touch. We offer a good variety of colors and sizes to blend with your outdoor design.
Surface Preparation (Important)
Travertine pavers are durable, however, they are breakable so it’s important to properly prepare the surface. Pavers sized 6×12 are best for driveway to prevent cracking from the pressure of vehicles. Larger sizes, and French Pattern, are good for outdoor, deck and pool areas but not recommended for driveway use.
TRAVERTINE PAVERS INSTALLATION STEPS:
Dry-Set
Is highly recommended it is easy to lay and replace if needed and is the best option for cold weather.
Steps:
Excavate if needed
Compact (Soil has to have the correct moisture level)
Level, compact and repeat
Add 6” to 8” crushed limestone (sharp edges assist a snug fit) allows for good drainage.
Compact layers
Add the limestone in 2 -3 layers
Level compact and repeat
Top with ½” sand
Then lay pavers
Clearly define borders 6×12 Travertine Pavers
After pavers are in place Polymeric sand can be swept between cracks, grout, or they can be left alone
TRAVERTINE PAVERS INSTALLATION Mud-set
Uniform ground, surface/platform.
Excavate 6″ to 8″ of soil
Clear the area and create a level platform
Use a plate compactor to compact the soil
Fill area with crushed gravel (limestone base 3” to 4”)
Pour 4” concrete slab
Add mortar and lay the travertine pavers
Start from the edge of the driveway and work your way inwards.
Flexbond is recommended for cold weather mud set travertine paver installation that will be mud-set on top of a concrete surface.
It allows contraction and expansion during the extreme cold weather cycle as will as prevent cracking.
TRAVERTINE PAVERS INSTALLATION Sand set
Excavate the area and compact the soil.
Add a crushed limestone base 4” to 5”
Crushed limestone is a sure foundation, and will help the pavers stay in proper position while allowing proper drainage.
Add 1” to 2” of concrete sand over crushed limestone.
Lay pavers starting from the edge of the driveway and work your way in (use something like a concrete slab, to hold pavers in position during installation).
Pavers should be placed in a fitted pattern for good snug fit.
Fill the joints in with polymeric sand (usually a mix of sand & special additives that are used for filling paving stone joints).
Edging
It’s recommended to install landscape edging on the outside edge of the pavers this will keep them from shifting out of position (top of the edging must be level with the travertine paver edge)
An alternative is pouring concrete along the outside edge after tiles are set (top of the edging must be level with the travertine paver edge)
Finishes
Your outdoor travertine paver finish options are:
Tumbled finish, has textured, porous finish that is skid-resistant.
Honed is a smoother finish than tumbled but still has needed traction when wet.
Polished finish is smooth and should only be installed in covered outside areas porch patio etc…
TRAVERTINE PAVERS INSTALLATION Patterns
The pattern is up to you as there are several pattern/size options:
6×12, 8×8, 8×16, 12×12, 12×24, 16×16, 16×24, & 24×24
French pattern/mini-French pattern
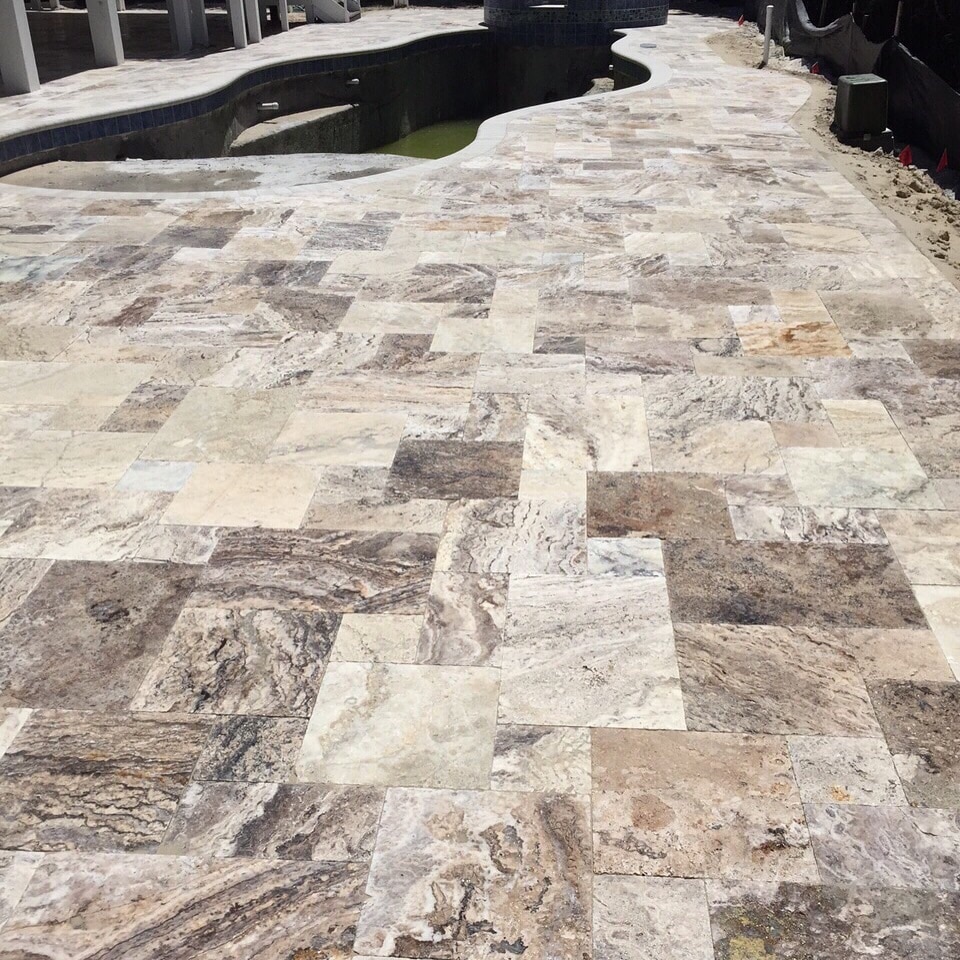
Pattern repeats after the first square ends (tiles are 16″ by 24″, 16″ by 16″, 16″ by 8″ & 8″by 8″ pavers and is set to cover 16 sq. ft. area. You should place tiles close together and you should fill the joints with sand).
When pavers are set, check for level, go over the area with a plate compactor again.
Stone Tile Us ships everywhere and fast, check or flooring tile shipping policy.
Check our latest natural stone projects to help you visualize yours.
If you need more information about our natural stone selection, give us a call today 855-344-8716.


