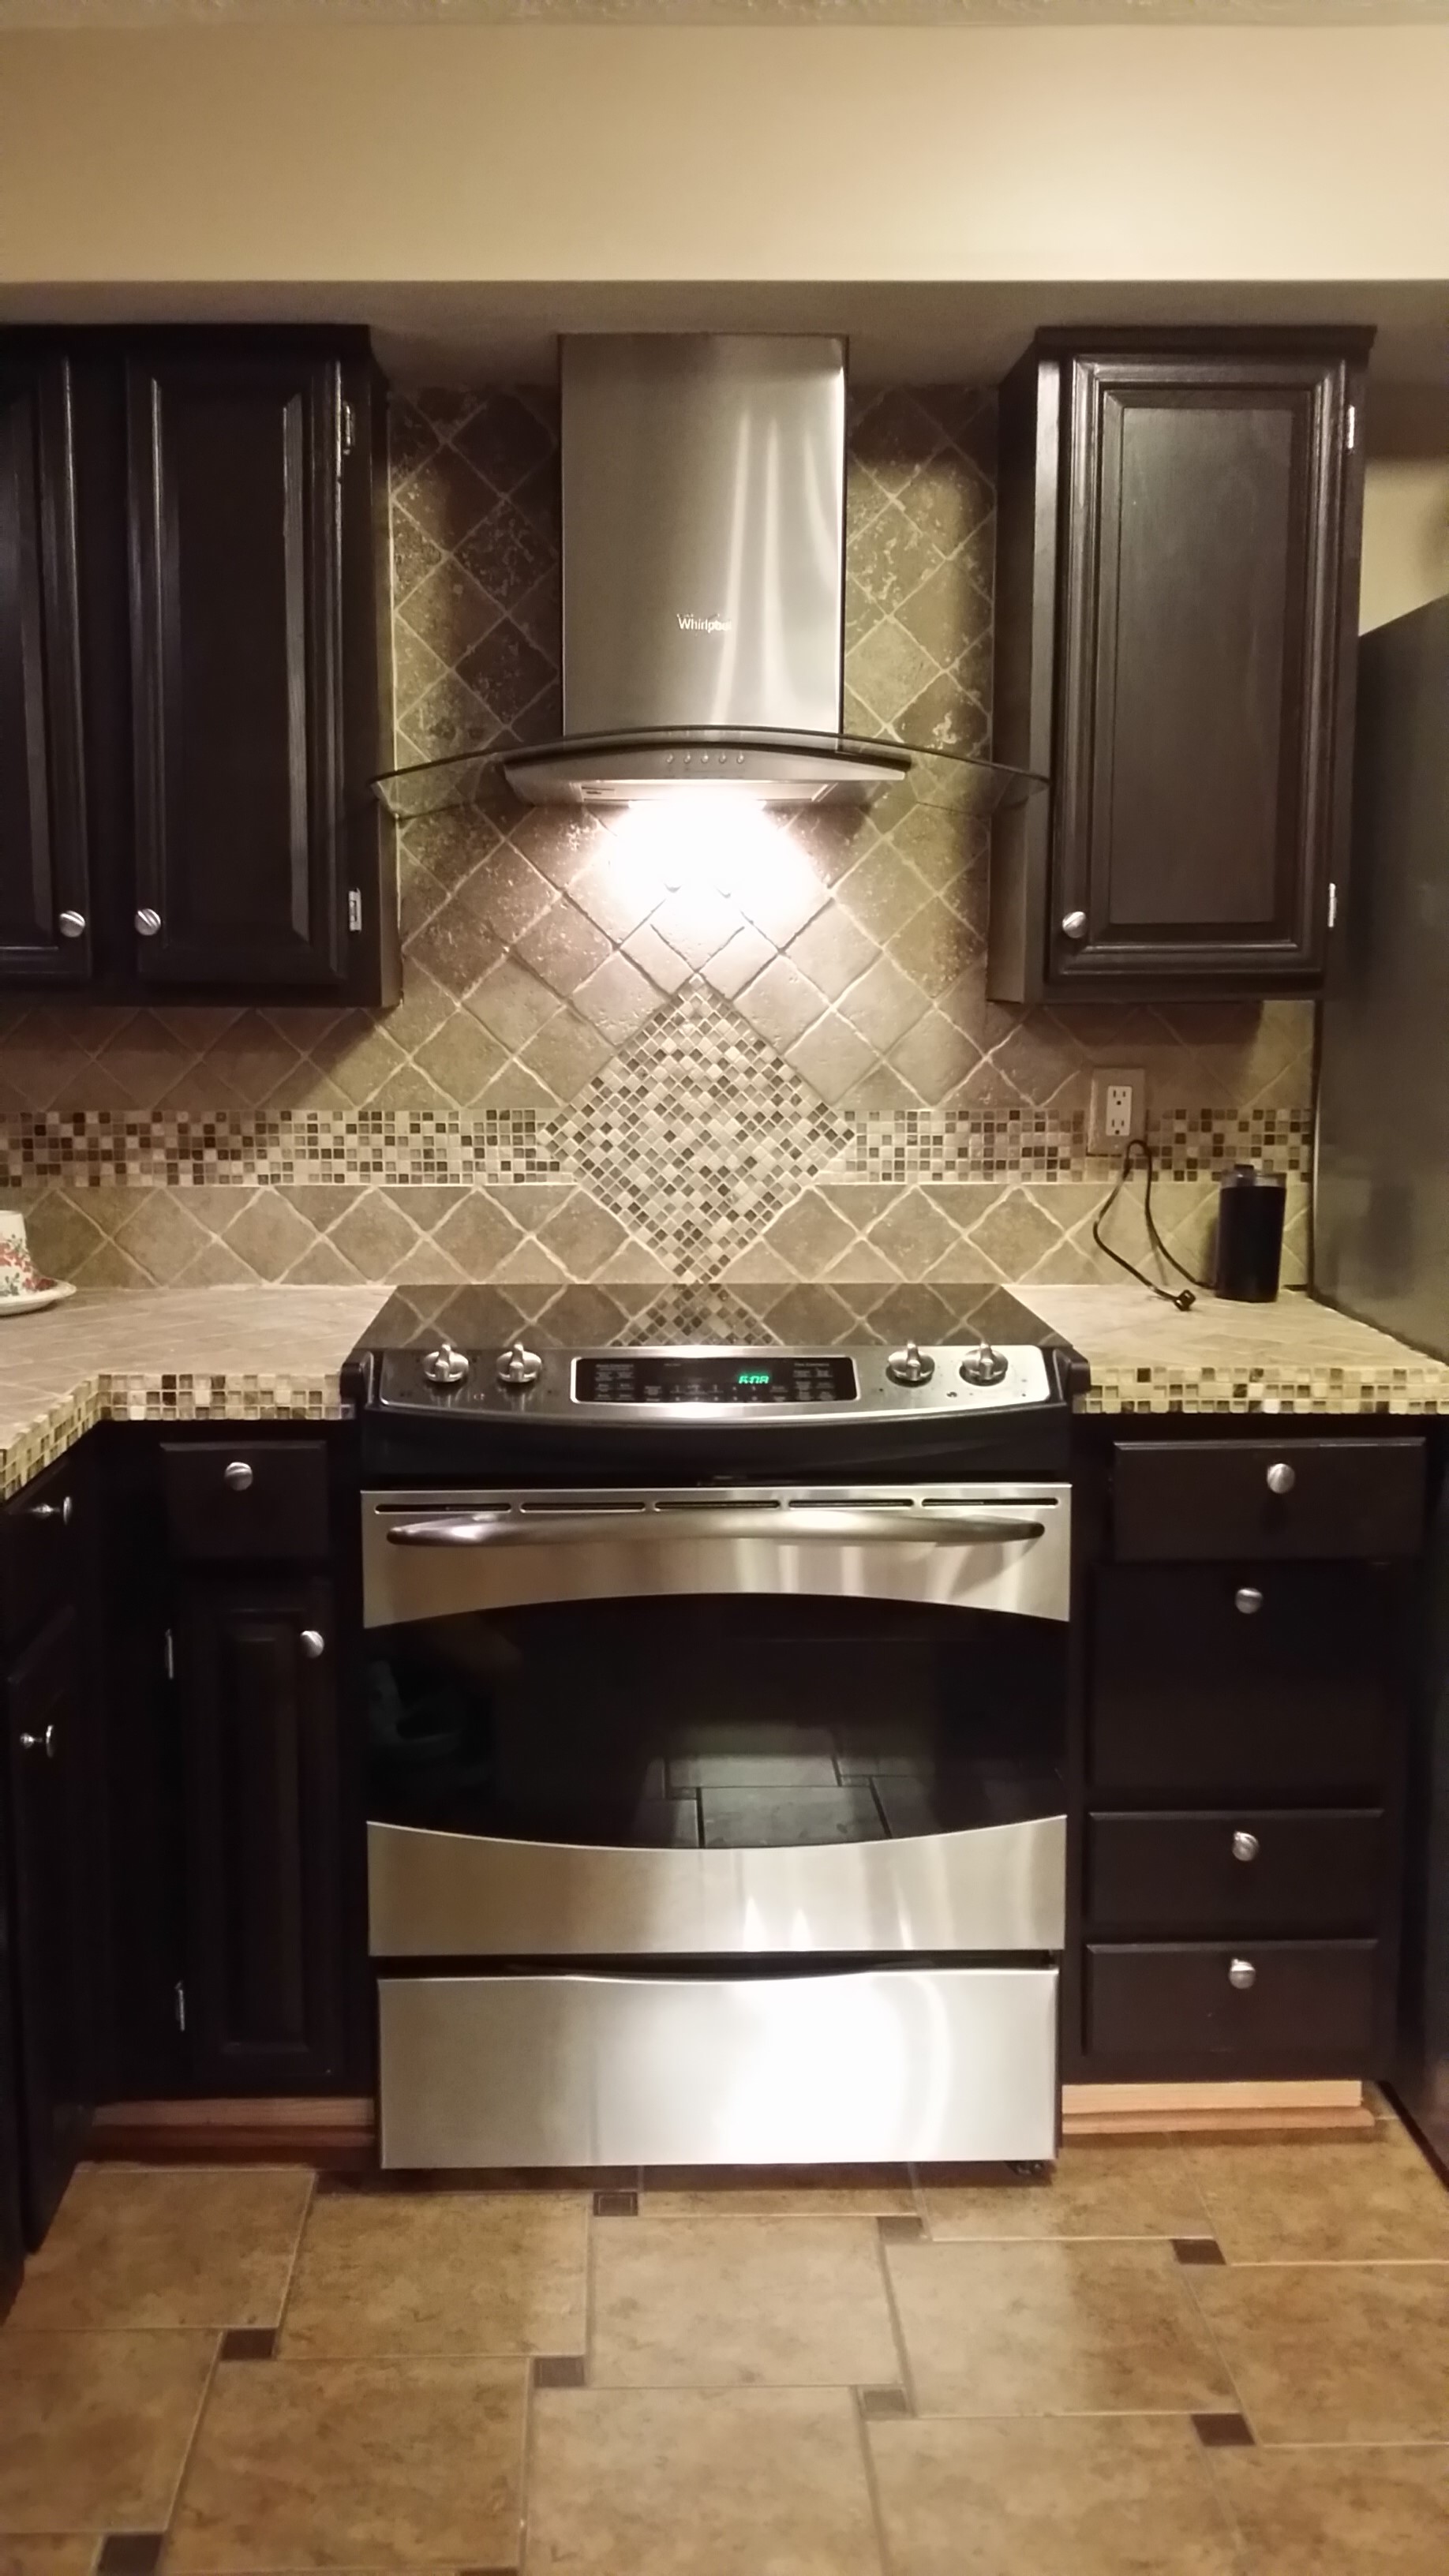
Back Splash Tile Materials
Back Splash Tile Materials
Before Installing Back Splash Tile Materials Proper planning is recommend for smooth installation.
Make a list, purchase needed tools and materials have everything assembled before getting started.
Note: After selecting the style of wall tile you like for your Back Splash Tile Materials, always to get at least 10% to 20% extra for breakage and trim.
BASIC Back Splash Tile Materials:
Tape Measure
Chalk (for lines)
Thinset or tile adhesive
(Buy the correct amount of thinset/adhesive as it is to hold the tile on the wall)
Notched trowel
Use two thirds of the thickness of the tile being set.
(The trowel is for spreading the adhesive “combs” it onto the surface)
Level
Level is used to insure that installation is done on an even surface, if the floor is not even sand or remove excess material.
Tile Spacers
(Are to insure the lines between the tiles are properly spaced, usually 1/16 inch to 1/2 inch for kitchen walls.
The average being 1/8 inch grout line which is pleasing to the eye.)
Tile Saw
The wet tile saw is circular and cuts with water lubrication.
You can make straight cut with the tile saw only, not nippers.
It is suggested to rent a wet saw, if you don’t know someone that will share theirs with you.
Especially if this is a onetime project. If you plan on doing more projects buy good wet saw.
(Wet Saw has a range of prices but will be a couple hundred dollars).
One hundred and fifty dollars is the average cost.
Nippers
(For wall tile installation these maybe all you need, however you should always have additional cutters)
Tile Cutter
Practicing cutting on cheap tiles first with nippers and/or tile saw
(Snap/Rail cutter is usually about $20)
Rubber Grout Float
You’ll need a grout float to apply the grout after the tile is set and a grout is dry.
Grout
There will be many colors to choose from. Stores will have a sample palate that can be matched against the tiles to ensure correct color. Choice of: Non-sanded grouts are used for narrow areas up to 1/8″, Sanded grouts are used for areas from 1/8″ to 3/4″ and more.
Grout Sponge
Sponge will wipe off the excess grout from the tile.
Obvious
Don’t overlook the Obvious.
Remember to get Cleaning Cloths.
Add Goggles to your list.
You should be using a Pencil to write everything down and you will need it again.
Include a Hammer on your list you will need it
Rubber Gloves are very important to protect your hands
Knee Pads help you keep your knees from bruising.
Back Splash Tile Materials-INSTALLATION TIPS:
Mosaics Tile sheets are curved on all sides, giving them the ability to fit together with a seamless finish.
It is the art of creating an assemblage of small pieces of natural stone creating a complete pattern for use on floor,
walls, back splashes, kitchen, and bathroom. It is a technique used to create interior or artistic design.
Mosaics are made by hand on a 12×12 mesh for easy installation.
Lay tiles before using adhesive and then tiles can be cut with a knife on grout lines.
You should take measurements measure to center of the room.
Use a pencil to mark the corners then pick tiles up. Start at each corner and mark chalk lines to make a box for the field tile.
Next mix thinset to a thick creamy consistency, allow it sit for 10 minutes. Then use a notch towel 1/4 x 1/4 and then set tiles.
Inlay tiles with a margin trowel and lay them in place.
To get wall tiles to size cut with a wet saw,you can use a tile nipper for small tight areas.
Please use full directions for installation this is basically to give you an idea of the general process.
Stone Tile Us ships everywhere and fast, check our flooring tile shipping policy.
Check our latest natural stone projects to help you visualize yours.
If you need more information about our natural stone selection, give us a call today 855-344-8716.

