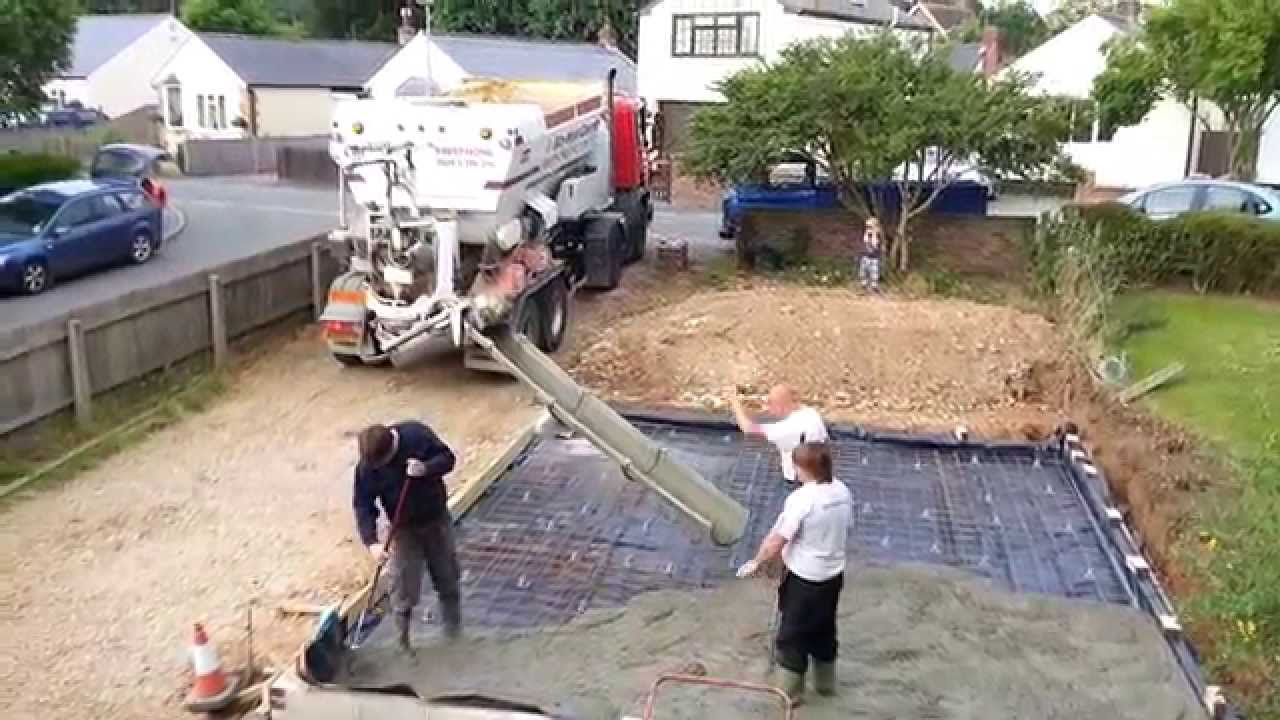
Garage Base Paver-After garage base is laid. One inch pavers in marble or travertine can be added for interest and beauty. French Pattern is beautiful!
Our Pavers are available in Marble and Travertine with finishes: tumbled or brushed and chiseled. They are resistant to moisture, cold, heat and erosion. There is no heat retention and its surface remains cool to the touch. Stone Tile Us pavers are slip-resistant making them a perfect addition around a pool area. There is extreme durability and resistance to cracks. Thebeauty of your homewill be accentuated for years to come as well as increase your home value.
Materials Proper planning is recommend for smooth installation.
Make a list, purchase needed tools and materials have everything assembled before getting started.
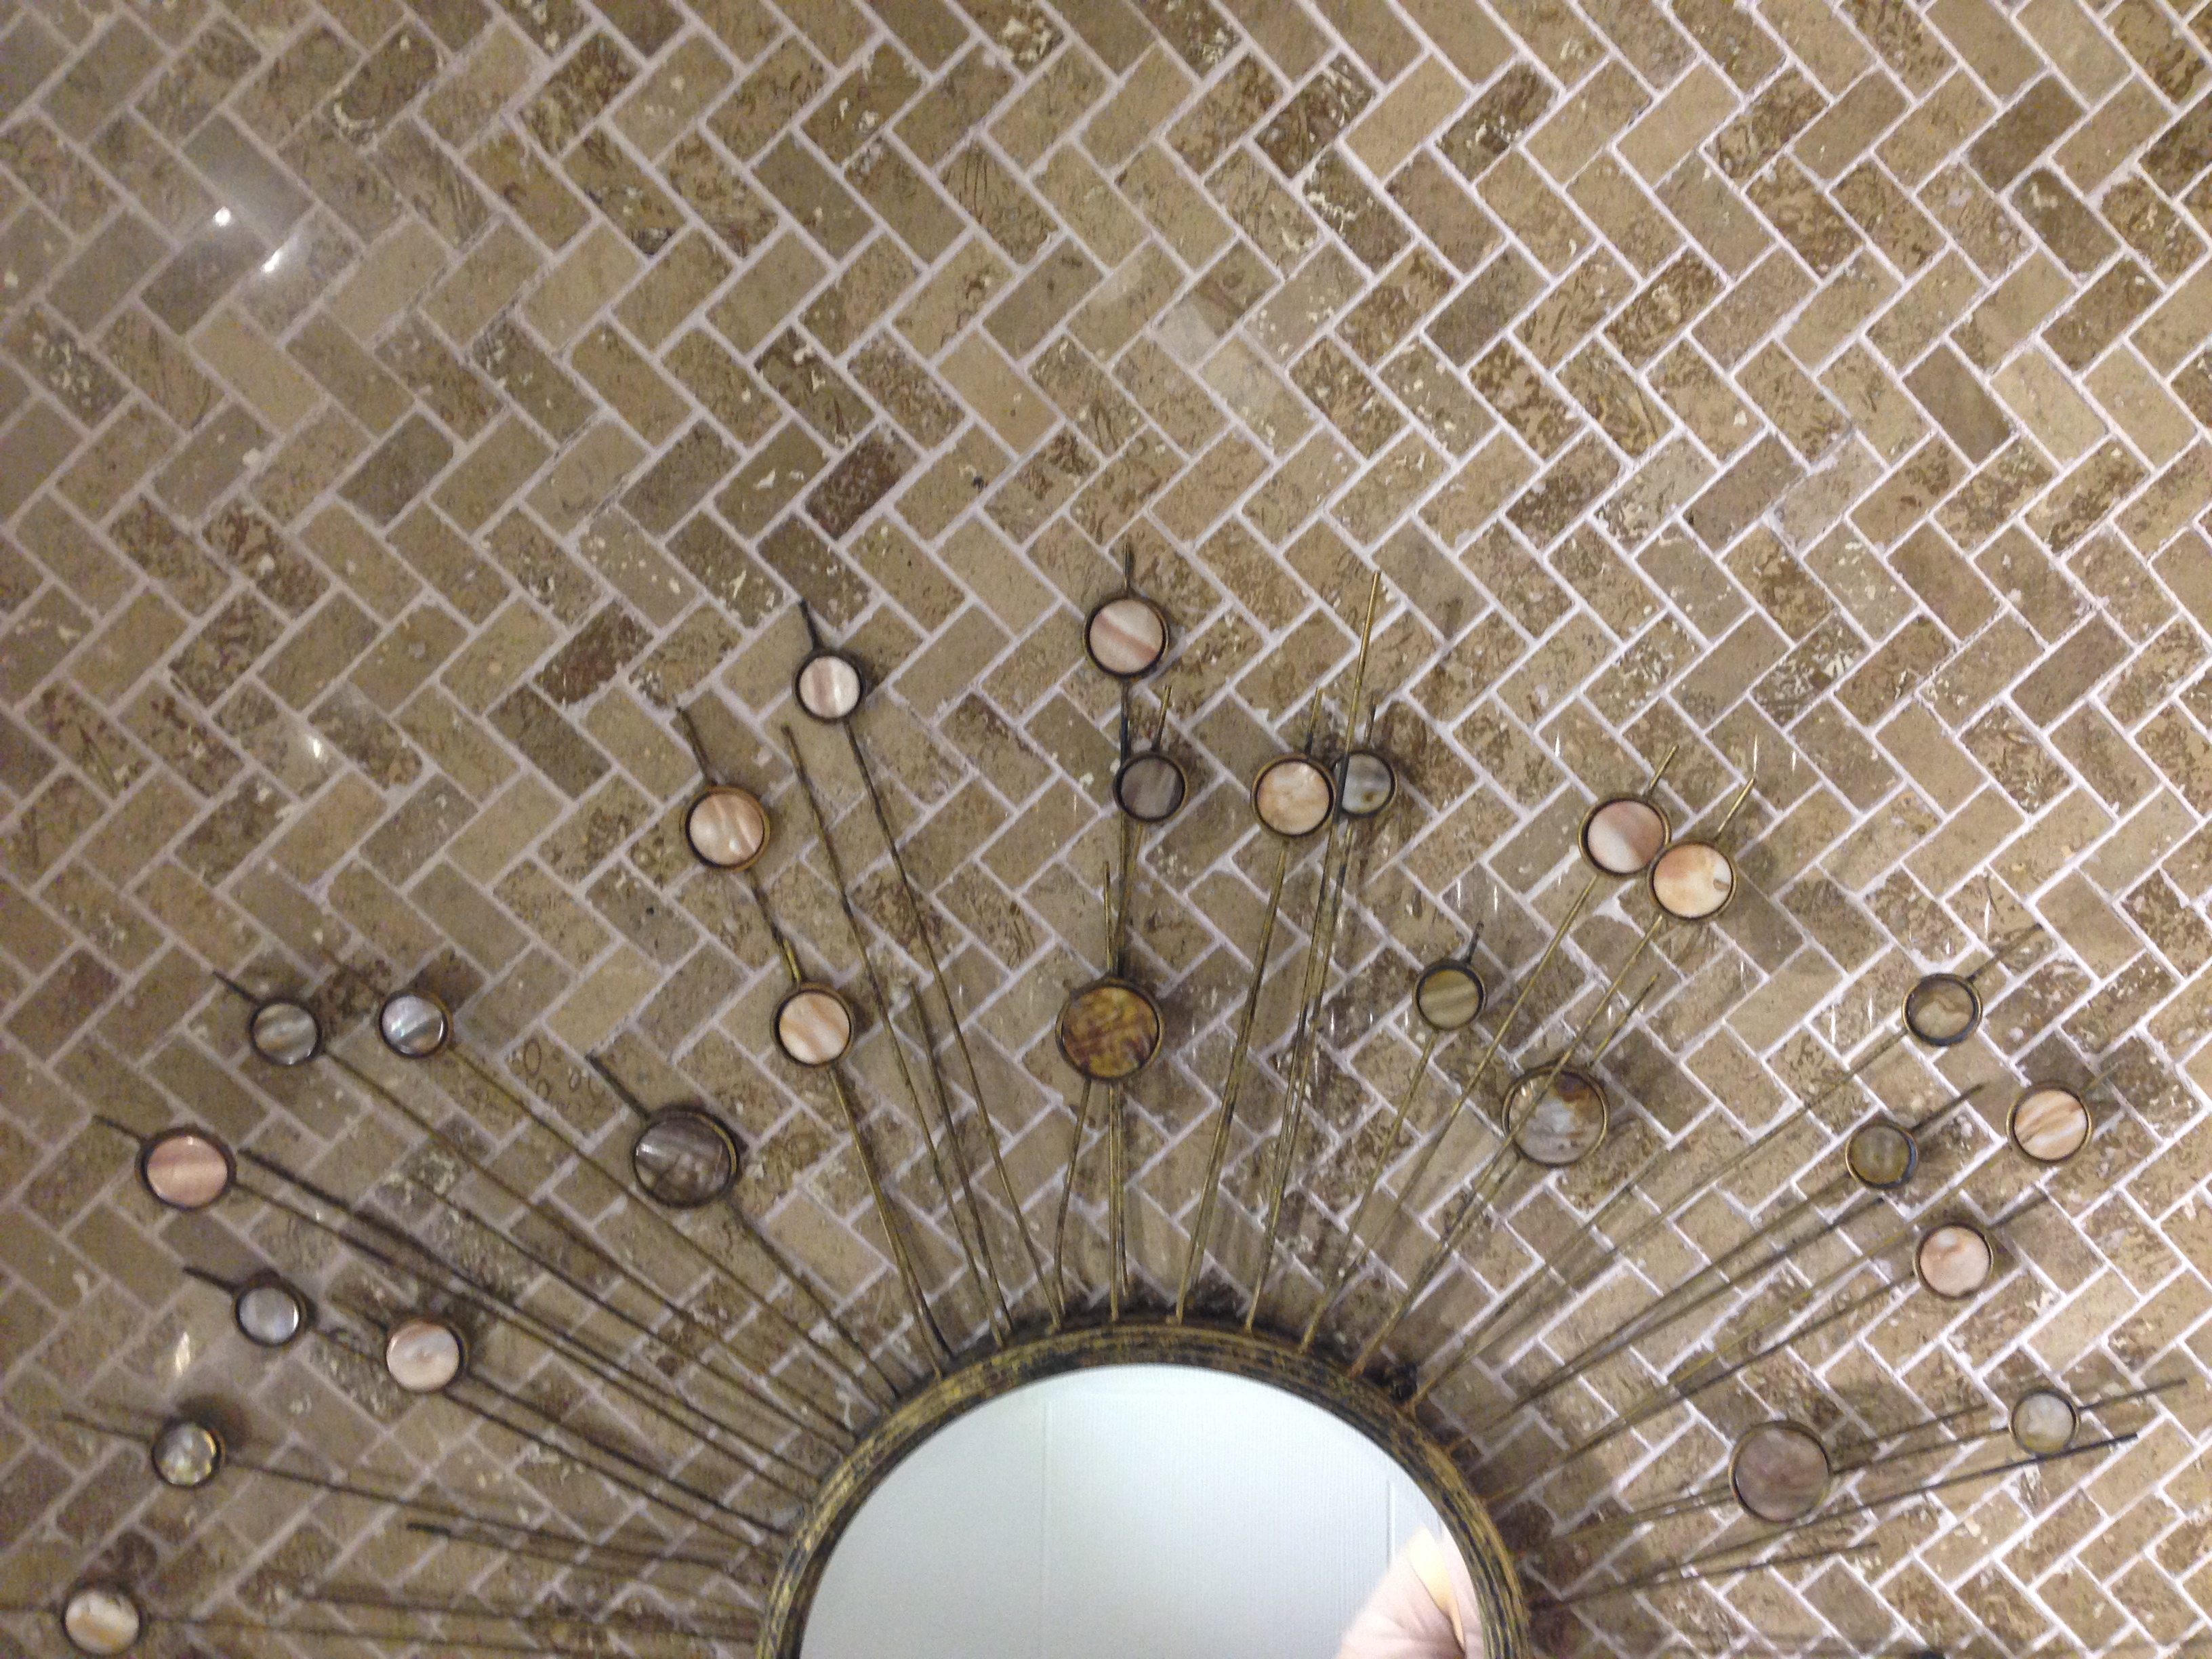
Note: After selecting the style of wall tile you like for your Back Splash Tile Materials, always to get at least 10% to 20% extra for breakage and trim.
BASIC
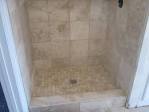
Travertine tile Bathroom Heated Floor:
Tape Measure
Chalk (for lines)
Thinset or tile adhesive
(Buy the correct amount of thinset/adhesive as it is to hold the tile on the wall)
Notched trowel
Use two thirds of the thickness of the tile being set.
(The trowel is for spreading the adhesive “combs” it onto the surface)
Level
Level is used to insure that installation is done on an even surface, if the floor is not even sand or remove excess material.
Tile Spacers
(Are to insure the lines between the tiles are properly spaced, usually 1/16 inch to 1/2 inch for kitchen walls.
The average being 1/8 inch grout line which is pleasing to the eye.)
Tile Saw
The wet tile saw is circular and cuts with water lubrication.
You can make straight cut with the tile saw only, not nippers.
It is suggested to rent a wet saw, if you don’t know someone that will share theirs with you.
Especially if this is a onetime project. If you plan on doing more projects buy good wet saw.
(Wet Saw has a range of prices but will be a couple hundred dollars).
One hundred and fifty dollars is the average cost.
Nippers
(For wall tile installation these maybe all you need, however you should always have additional cutters)
Tile Cutter
Practicing cutting on cheap tiles first with nippers and/or tile saw
(Snap/Rail cutter is usually about $20)
Rubber Grout Float
You’ll need a grout float to apply the grout after the tile is set and a grout is dry.
Grout
There will be many colors to choose from. Stores will have a sample palate that can be matched against the tiles to ensure correct color. Choice of: Non-sanded grouts are used for narrow areas up to 1/8″, Sanded grouts are used for areas from 1/8″ to 3/4″ and more.
Grout Sponge
Sponge will wipe off the excess grout from the tile.
Obvious
Don’t overlook the Obvious.
Remember to get Cleaning Cloths.
Add Goggles to your list.
You should be using a Pencil to writ everything down and you will need it again.
Include a Hammer on your list you will need it
Rubber Gloves are very important to protect your hands
Knee Pads help you keep your knees from bruising.
Please use full directions for installation this is basically to give you an idea of the general process.
1. Make sure the wall surface has a sound structure (Good dry wall etc..)
2.The wall should be clean and flat (It’s been suggested to sandpaper or paint over the walls primer or sealer)
3.Measure to see how much tile you’ll need and get some extra from the same lot number.
4. Tiles purchased on sheets will allow for faster installation as you’ll be laying several at a time.
5. Cut tiles with a wet saw according to your needed measurements.
6. Lay tiles on the counter to get an idea of the layout pattern you want. (Cut tiles to size if needed).
7. Turn off power and remove wall face plates.
8. Apply Mastic (adhesive) with a notched trowel. Add to the walls with the flat side of the trowel.
9. Start at the center and work your way up horizontally. (Only apply to a 3×3 foot area at a time to prevent drying).
10. Double back over the application of adhesive with the notched side of the trowel to remove excess. (Use a small trowel for small areas and tight corners).
Back Splash Tile Installation
11. Apply adhesive to the back of the tiles then lay them on the wall, starting at the base of the counter tops and working your way up.
This method will give you a straight edge guide and allows needed cuts/angles to be made under cabinets and exhaust fans.
12.Gently tap tiles into place with a mallet. Continue to lay tiles in a row and remove any surface excess (Every few minutes check for proper alignment).
13.Remove spacers, wipe surface clean, and let the tiles set over night before grouting.
14.Mix grout according to manufactures instructions.
15.Apply grout in a diagonal pattern using a rubber float holding it at a 45-degree angle.
16.Fill the seams with grout and wipe off excess with a damp sponge once grout is firm.
17.After grout dries a haze will form which must be removed with a clean sponge.
18.Apply cork (not grout) at the boarder of the counter tops and wall edges to seal and prevent cracking.
19.Replace switches and wall plates you may need longer screws.
20. Back Splash Tile Installation is now complete as always get professional advice before starting your installation project